X (Twitter)
WARNING
Warning: Never share your API keys or access tokens with anyone — including plemeo developers.
These keys are for your personal use only and must be kept secure in your private environment.
plemeo is a self-hosted, open-source tool. You remain in full control of your API access at all times.
Setup Process
1. Create X Developer Account
Head over to X Developer Portal and create a developer account if you don't already have one.

2. Create a New App
Once your developer account is approved, create a new app in the X Developer Portal.
3. Configure App Permissions
Set up your app with the following permissions:
- Read and write access
- Tweet permissions
- User permissions
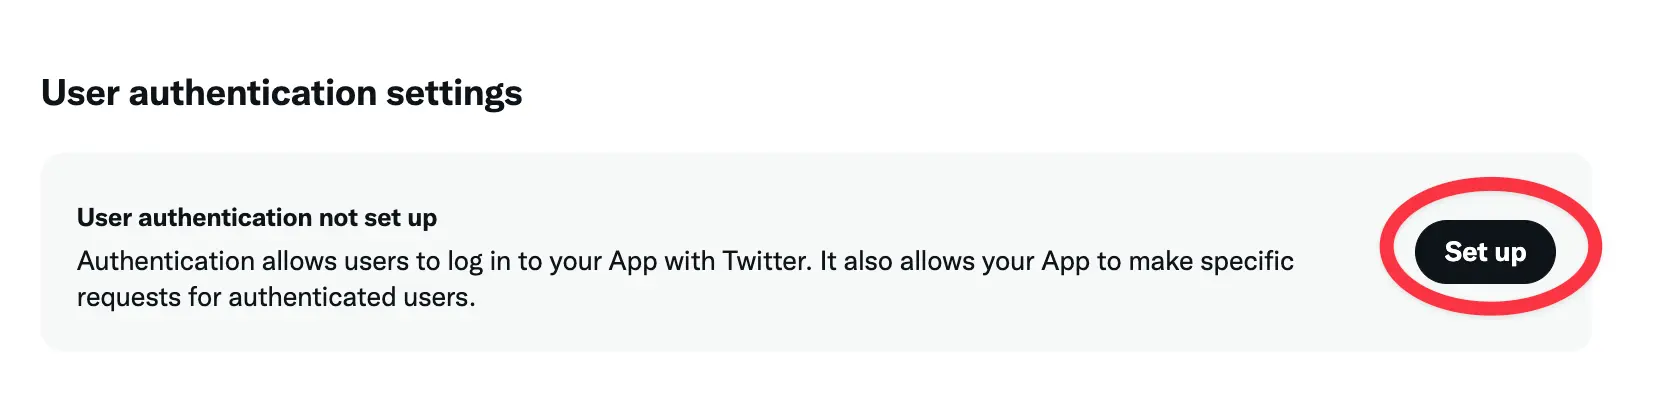
4. Configure OAuth Settings
Configure the OAuth 1.0a settings for your app:
The OAuth2 Redirect URI is the location where the provider will redirect to after trying to login. This needs to be set to https://run.plemeo.ai/integrations/social/x.
Examples:
- For production:
https://run.plemeo.ai/integrations/social/x - For local development:
http://localhost:4200/integrations/social/x
TIP
You only need to set one OAuth2 Redirect URI when you are setting up your plemeo app.
5. Configure in plemeo
Copy the API Key and API Secret Key from the "Keys and tokens" tab of your X app in the developer portal.
Now configure these in plemeo:
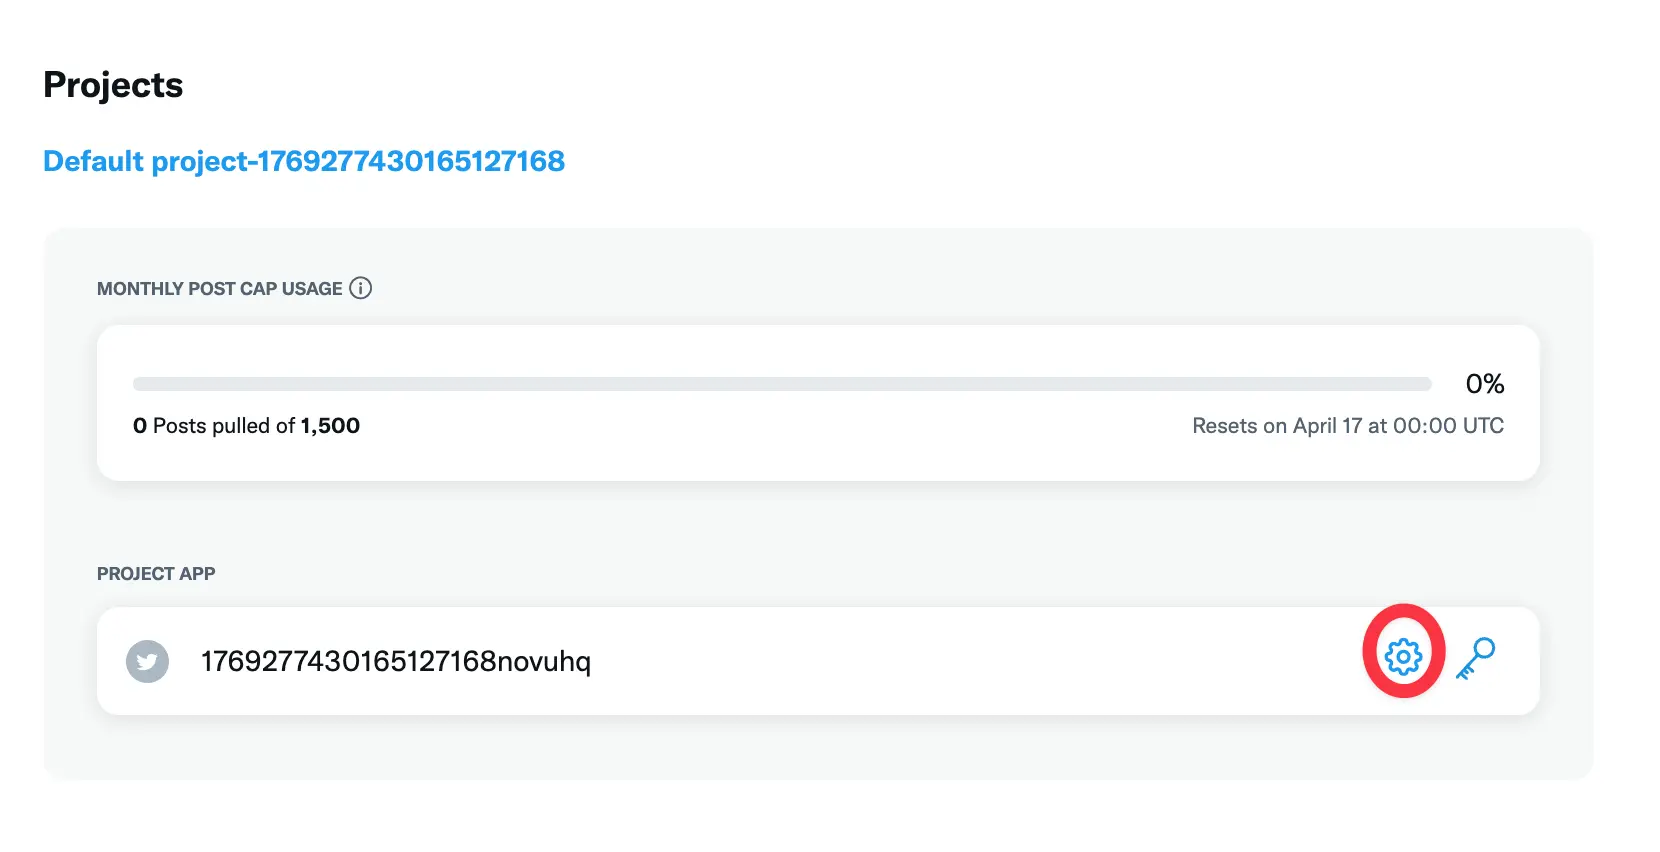
- Go to Apps in your plemeo dashboard
- Select Social Media App
- Click on the settings icon (⚙️)
- Enter your API Key and API Secret Key in the X configuration fields
- Click Save
INFO
Note: X uses OAuth 1.0a, not OAuth 2.0. Make sure you're using the correct API Key and API Secret Key (not the Bearer Token).
WARNING
Important: X API access may be subject to approval depending on your use case and the API tier you're applying for. Make sure to comply with X's developer terms and policies.